 Save
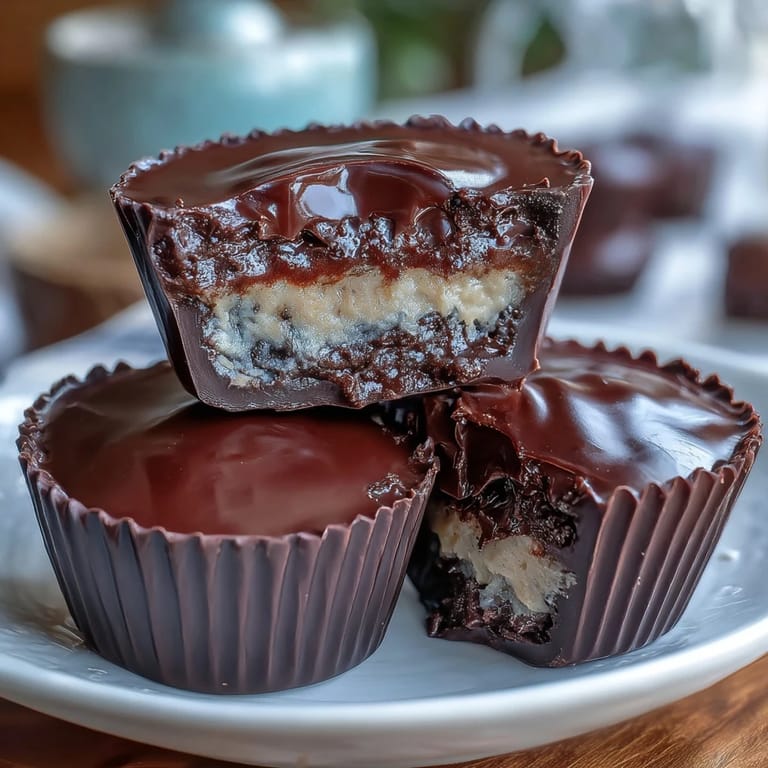
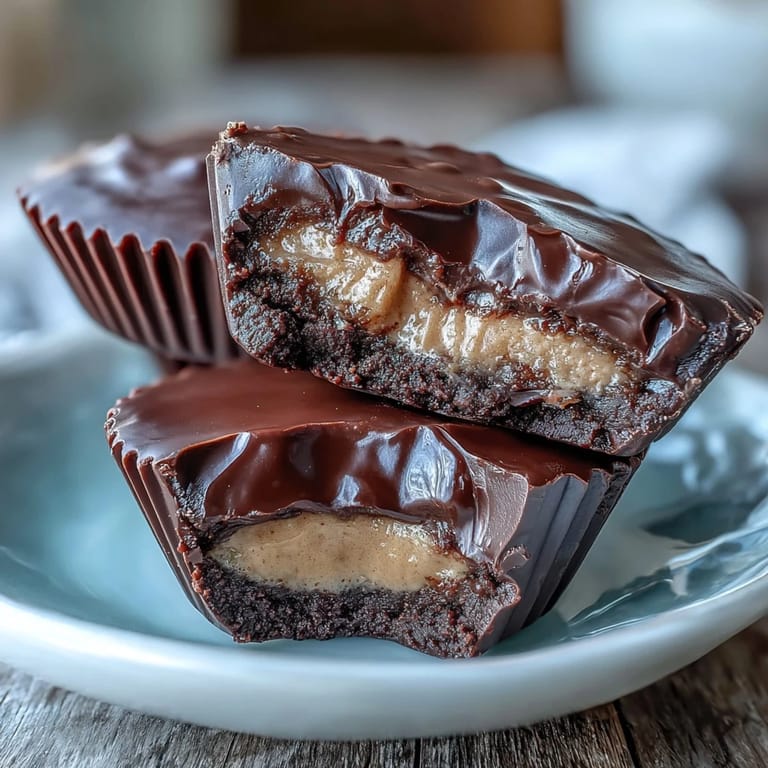
Save My kitchen smelled like a candy factory the afternoon my sister texted asking if I could bring homemade Reeses cups to her book club. I'd never made them before, but something about the challenge excited me more than buying a box. Two hours later, with melted chocolate on my apron and a satisfied grin, I realized these weren't just candies—they were proof that the best indulgences come from your own hands. That night, watching everyone's faces light up over something I'd actually created felt like the real treat.
I'll never forget my mom's surprised silence when she took her first bite. She's the kind of person who samples a cookie and immediately diagnoses what you did wrong, but with these she just smiled and asked for another. That's when I knew I'd nailed something special—not because of technique, but because homemade simplicity beats manufactured perfection every single time.
Ingredients
- Dark chocolate (250 g, 70% cocoa or higher), chopped: The higher cocoa percentage cuts through the sweetness of the filling and keeps these from tasting cloying; I learned the hard way that cheap chocolate leaves a waxy film on your palate.
- Coconut oil (1 tbsp, optional): This is your secret weapon for smooth, glossy chocolate that hardens to the perfect snap without cracking when you bite into it.
- Creamy peanut butter (120 g), unsweetened and unsalted: Seek out the kind with just peanuts and maybe salt in the ingredients list; the unsalted version lets you control the flavor balance with the sea salt addition.
- Unsalted butter (2 tbsp), softened: This creates the light, fluffy texture that makes the filling taste indulgent rather than dense, so don't skip it even though it seems like a small amount.
- Powdered sugar (60 g), sifted: Sift it before measuring to avoid lumps that'll ruin your smooth filling texture; I learned this after my first batch looked like it had tiny pebbles in it.
- Fine sea salt (¼ tsp): This tiny pinch is the magic that makes people close their eyes and say 'wow'—it amplifies both the chocolate and peanut butter flavors without tasting salty.
- Vanilla extract (½ tsp): Just enough to add warmth and complexity without making anyone ask what that flavor is.
Tired of Takeout? 🥡
Get 10 meals you can make faster than delivery arrives. Seriously.
One email. No spam. Unsubscribe anytime.
Instructions
- Set Up Your Station:
- Line your muffin tin with paper liners and gather everything within arm's reach. This matters more than you'd think because once your chocolate starts melting, you won't want to hunt for tools.
- Melt the Chocolate:
- Use a double boiler or microwave in short 30-second bursts, stirring between each one, until your chocolate is completely smooth and glossy. The coconut oil will make it flow like silk, which makes the next steps genuinely easier.
- Create the Chocolate Base:
- Spoon about a teaspoon of melted chocolate into each liner and use the back of the spoon to coat the bottom and creep partway up the sides. Stick them in the freezer for exactly 10 minutes—this gives you a sturdy foundation that won't crack when you press the filling on top.
- Make the Filling:
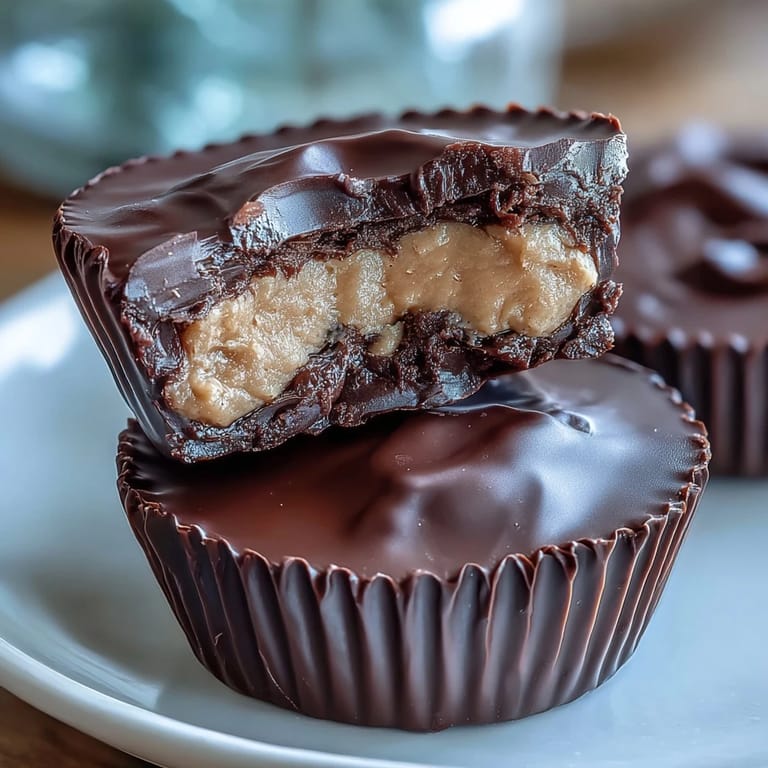
- While chocolate sets, combine your peanut butter, softened butter, sifted powdered sugar, salt, and vanilla in a medium bowl and mix until the texture is thick and spreadable, almost like frosting. You want it firm enough to hold its shape but soft enough that it doesn't crack when you press it down.
- Fill Your Cups:
- Roll small portions of filling into rough balls, then flatten them gently and place one on each chocolate base, leaving a small border around the edge so chocolate can seal everything together. Think of it like you're tucking the filling into a chocolate hug.
- Top with Chocolate:
- Spoon the remaining melted chocolate over the peanut butter layer, covering everything completely, and tap the tin gently on the counter to smooth out any air bubbles and create an even surface. This step takes maybe 30 seconds but completely changes how professional your cups look.
- Final Chill:
- Refrigerate for at least 30 minutes until everything is completely firm and set. You can actually leave them overnight if you want—they'll only get better as the flavors settle and meld.
 Save
Save My neighbor came over one Sunday morning, caught the chocolate smell wafting from my kitchen, and spent the next 20 minutes asking questions about the process like a detective. By the end she was already planning her own batch, and that's when I realized these cups had this almost magical quality—they made people want to create something with their own hands.
Why Dark Chocolate Matters Here
The first time I made these with milk chocolate because that's what I had on hand, something felt off. The whole thing tasted one-dimensional and cloyingly sweet, like eating frosting instead of a sophisticated confection. Dark chocolate with at least 70% cocoa gives you this deep, almost slightly bitter backdrop that makes the sweetness of the peanut butter filling sing by comparison.
The Temperature Game
Getting the chocolate temperature right without a thermometer took me a few batches to understand. You want it warm enough to pour smoothly but cool enough that when you spoon it over the peanut butter filling, it doesn't melt everything you've just carefully layered. If your chocolate starts looking dull instead of shiny, it's cooled slightly and might look textured—just rewarm it gently and you're back in business.
Storage and Serving Wisdom
Keep these in an airtight container in your refrigerator where they'll stay perfect for up to a week, though honestly they rarely last that long once people know they exist. Let them sit at room temperature for about 5 minutes before eating so the chocolate softens just enough to melt on your tongue instead of cracking between your teeth.
- A sprinkle of flaky sea salt on top before the final chill creates an extra flavor dimension that makes people ask what your secret ingredient is.
- These pair incredibly well with strong black coffee or cold milk, and that pairing is actually worth planning your afternoon around.
- You can swap peanut butter for almond butter or cashew butter if you're feeling adventurous, though each one tastes distinctly different so commit to one direction.
 Save
Save These homemade Reeses cups taught me that sometimes the most memorable gifts aren't the ones you buy with the most money—they're the ones you make with the most attention. Every bite carries the story of an afternoon in your kitchen, which is honestly worth more than any box from the store.
Recipe Help
- → What type of chocolate works best for these cups?
Dark chocolate with 70% cocoa or higher delivers a rich, slightly bitter flavor that balances the sweetness of the peanut butter filling.
- → Can I substitute the peanut butter for other nut butters?
Yes, almond or cashew butter can be used for a different twist while maintaining the creamy texture.
- → How should I melt the chocolate to avoid burning?
Use a heatproof bowl over simmering water or microwave in short bursts, stirring frequently until smooth.
- → Is it necessary to chill the cups before serving?
Chilling helps the chocolate set firmly and allows flavors to meld, resulting in better texture and taste.
- → Can these cups be stored for later enjoyment?
Store them in an airtight container in the refrigerator for up to one week to maintain freshness.