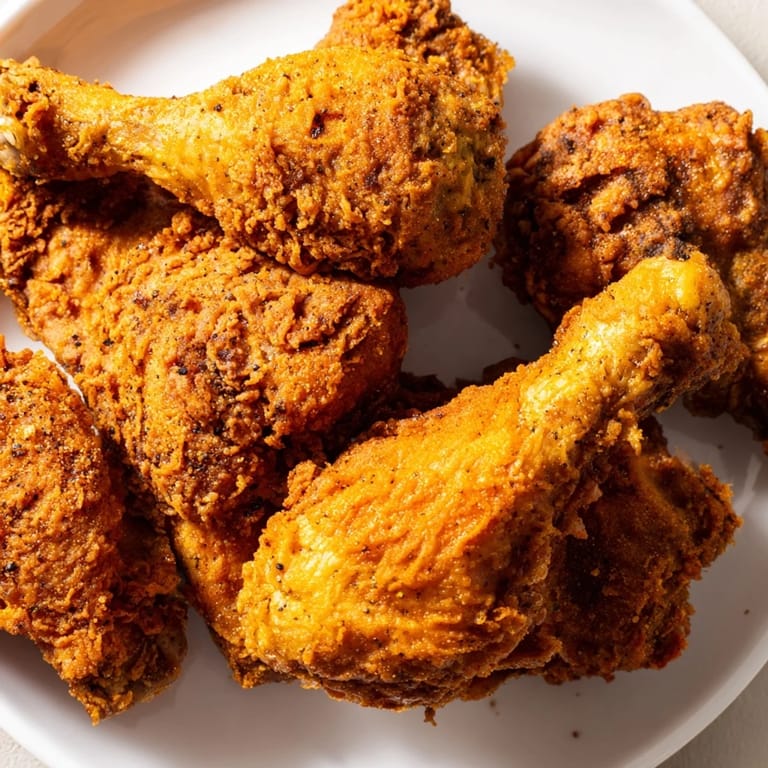
 Save
Save There's this moment when you bite into really good fried chicken—that precise second when the coating shatters between your teeth and hits you with an unexpected warmth of spices—that made me obsessed with figuring out what KFC actually does differently. I spent months testing variations, adjusting ratios, tasting each batch while it was still hot, comparing notes with friends who claimed they could taste subtle differences I'd missed. Then one afternoon, after my third failed attempt at capturing that exact flavor, I realized it wasn't just about the spices—it was about how they lived together in the flour, how the marinade changed their behavior, and honestly, a little bit of patience.
I made this for my roommate's birthday dinner last spring, and I remember her face when she bit into a thigh piece—pure shock followed by that blissful quiet moment where nothing exists except really good food. She asked me to make it again the very next week, which had never happened before with anything I'd cooked.
Ingredients
- Chicken (8 pieces, skin-on and bone-in): The skin is crucial because it crisps up beautifully and keeps the meat from drying out; bones add flavor during frying.
- Buttermilk (250 ml): This isn't just for tenderizing—it's the acid that helps the spices adhere and creates a slightly tangy undertone that makes the coating taste less one-dimensional.
- All-purpose flour (200 g): The base that holds everything together; don't use self-rising or cake flour.
- Paprika (2 tsp): Gives warmth and color without heat, and it's the flavor bridge between the savory spices.
- Garlic powder, onion powder (1 tsp each): These two together create umami depth that people can taste but rarely identify.
- Dried thyme, basil, oregano (1 tsp each): The herbal notes that make your kitchen smell like you've been cooking all day even though you haven't.
- Celery salt, white pepper, black pepper (1/2 tsp each): White pepper adds a subtle sharpness that black pepper alone misses; celery salt brings brightness.
- Mustard powder, ground ginger, cayenne, sage (1/2 tsp each): These are the secret players—mustard powder adds sharpness, ginger brings warmth, cayenne gives that barely-there heat, and sage brings an earthy note that pulls everything together.
- Salt (1 tsp, separate from celery salt): Taste as you go because the celery salt already contributes saltiness.
- Vegetable oil (1 liter): Use neutral oil with a high smoke point; peanut oil works beautifully too if you're not allergic.
Tired of Takeout? 🥡
Get 10 meals you can make faster than delivery arrives. Seriously.
One email. No spam. Unsubscribe anytime.
Instructions
- Make the magic bath:
- Whisk buttermilk with salt and black pepper in a large bowl, then submerge your chicken pieces completely. Let it sit in the refrigerator for at least an hour—overnight is even better because the acid really works its way into the meat.
- Build your spice fortress:
- Combine all your flour and spices in a separate bowl and mix them thoroughly with a whisk, breaking up any clumps of dried herbs. This step feels small but it's genuinely important—you're creating an even flavor distribution, not just throwing things together.
- The dredging moment:
- Pull each chicken piece from the buttermilk, let the excess drip off (don't shake it aggressively), then press it firmly into the flour mixture on all sides. The pressing matters—it helps the coating stick and eventually crisp. Set the coated pieces on a rack for 10 minutes; this little rest lets the coating firm up and adhere better.
- Heat the oil correctly:
- Bring your oil to exactly 170°C (340°F) using a thermometer. If you guess, you'll either get pale, soggy chicken or burnt exteriors with raw centers.
- The fry:
- Working in batches so you don't crowd the pan, carefully lower chicken into the hot oil and let it cook undisturbed for about 2 minutes, then turn occasionally for even color. You're aiming for golden brown and an internal temperature of 75°C (165°F), which usually takes 12–15 minutes depending on piece size.
- The rest and serve:
- Transfer finished pieces to a wire rack (it keeps them crispy on all sides, unlike paper towels which can steam them). Let them rest for 5 minutes—this allows carryover cooking to finish and the coating to set.
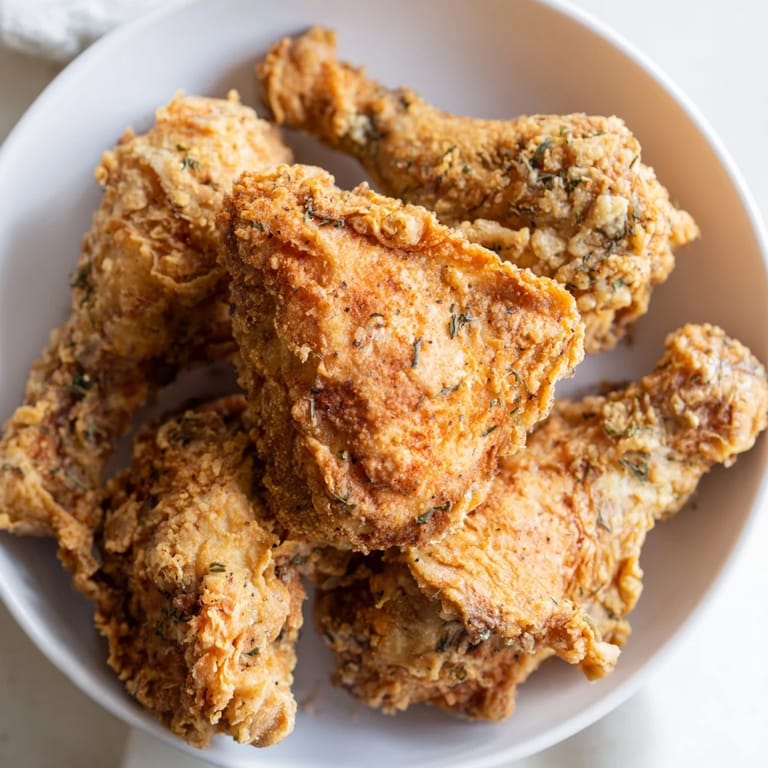 Save
Save What surprised me most wasn't that I could recreate something restaurant-quality, but that the process itself became something I looked forward to—the smell of those specific spices blooming in hot oil, the sound of the chicken settling into the pan, the small victory of lifting out a perfectly golden piece. It stopped feeling like a task and started feeling like cooking.
The Double-Dip Secret
If you want coating that absolutely shatters between your teeth, embrace the double-dip method that KFC actually uses. After your first flour dredge, dunk the piece back into buttermilk, then coat again in the spiced flour—you'll build a thicker, crunchier crust that somehow stays tender inside. It sounds fussy but adds maybe two minutes total to your prep, and the textural difference is genuinely noticeable.
Temperature and Timing Matter More Than You Think
I learned this the hard way by ruining at least four batches before I invested in a cooking thermometer. Room temperature chicken fries slower than cold chicken straight from the fridge, which changes your timing—cold pieces take a couple extra minutes but cook more evenly because the exterior doesn't brown before the inside gets warm. Your oil temperature is the real control variable though, so check it before you start and adjust your heat as you cook to keep it consistent.
Serving and Storage Tips
Serve this hot with coleslaw (the acid cuts through the richness beautifully) or alongside crispy fries and a biscuit for the full experience. Leftover pieces actually stay decent in an airtight container for up to three days, and reheating in a 180°C oven for about 10 minutes brings back most of the crispness.
- Adjust the cayenne pepper up or down depending on your heat tolerance—1/2 teaspoon is just a whisper of warmth, not actual spice.
- If you don't have a deep fryer, a heavy-bottomed pot works perfectly; just monitor your oil temperature closely.
- Air-frying is genuinely viable for a lighter version, though you'll lose some of that signature oil-fried crispness and get closer to oven-baked texture instead.
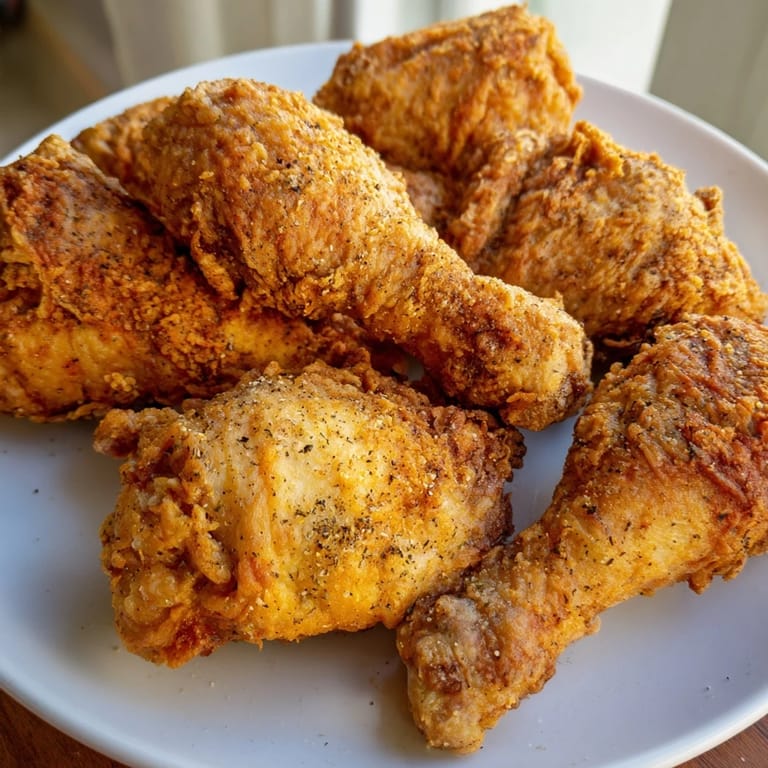 Save
Save This recipe stopped being about recreating a fast-food meal and became about understanding why certain flavor combinations work, what texture means, and how much joy really comes from the small details. Make it once and you'll find yourself making it again.
Recipe Help
- → What gives the chicken its crispy texture?
The combination of buttermilk marination and a seasoned flour blend creates a flavorful, crunchy coating that crisps up well during frying.
- → Can I adjust the spice blend for milder flavor?
Yes, reducing or omitting cayenne pepper allows you to control the heat level while preserving the overall seasoning balance.
- → Why is marinating in buttermilk recommended?
Buttermilk tenderizes the chicken and helps the spice blend adhere better, enhancing moisture and flavor.
- → How do I ensure the coating sticks well to the chicken?
After marinating, pat the chicken lightly and dredge firmly in the seasoned flour. Letting it rest on a rack helps the coating set before frying.
- → Is double-dipping necessary?
Double-dipping by repeating the buttermilk and flour steps adds an extra thick, crispy layer, but it's optional depending on your crunch preference.