 Save
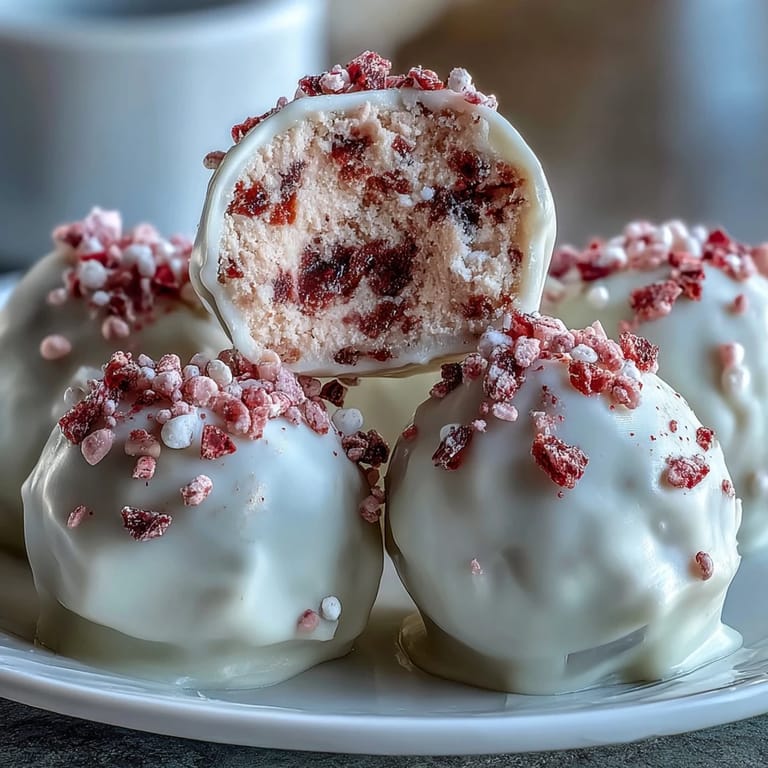
Save Last February, I was standing in my kitchen at midnight, realizing I'd promised homemade truffles to someone special but had zero idea what I was doing. The recipe seemed impossible until I started with freeze-dried strawberries and discovered they dissolve into the most delicate pink powder. What followed was the most meditative two hours of my life, and honestly, the truffles tasted like I'd actually planned ahead.
I made a batch for my neighbor who'd been going through a rough patch, and watching her face when she bit into one was worth every careful dip and sprinkle. She later told me the strawberry flavor was so bright it made her smile, which sounds dramatic but somehow felt true.
Ingredients
- Freeze-dried strawberries (120 g for filling): These are the secret ingredient that gives you intense flavor without watering down the chocolate—regular strawberries would make everything soggy and sad.
- White chocolate, chopped (200 g for filling): Quality matters here because white chocolate can taste waxy if it's cheap, so grab something with cocoa butter listed first.
- Heavy cream (60 ml): This is what makes the filling smooth and almost mousse-like when it sets.
- Unsalted butter, softened (30 g): The softness is key—cold butter won't blend smoothly and you'll end up with little flecks instead of silky filling.
- Vanilla extract (1/2 tsp): Just a whisper of this rounds out the sweetness and keeps the strawberry flavor from feeling one-note.
- Salt (pinch): This tiny amount does something magic to white chocolate, making it taste less cloying and more sophisticated.
- White chocolate for coating (300 g): Buy this separately because you need enough to fully submerge each truffle without running out.
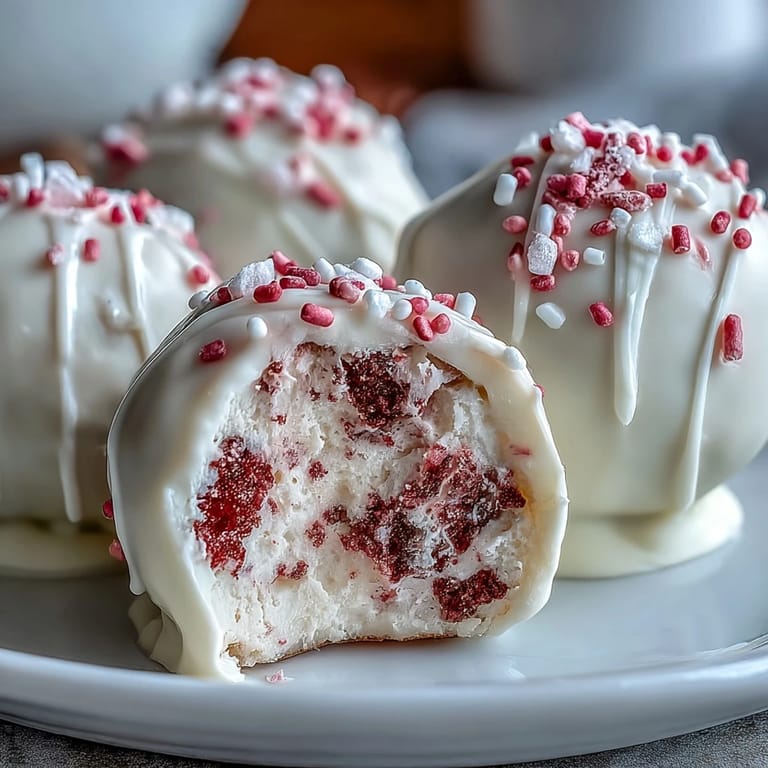
- Freeze-dried strawberries for garnish (2 tbsp, crushed): This is what makes them look like you actually know what you're doing.
- Red or pink sprinkles (optional): These are honestly optional but they make great backup decoration if your powder doesn't stick as planned.
Tired of Takeout? 🥡
Get 10 meals you can make faster than delivery arrives. Seriously.
One email. No spam. Unsubscribe anytime.
Instructions
- Transform the strawberries into powder:
- Pulse your freeze-dried strawberries in a food processor until they break down into a fine, dusty powder—you want it almost flour-like. Set aside two tablespoons for the final garnish because you'll need those bright pink pieces to top each truffle.
- Create the chocolate-cream base:
- Chop your white chocolate and place it with the heavy cream in a heatproof bowl, then set that bowl over a pot of simmering water so the steam gently melts everything. Stir until it's completely smooth and warm, which takes about five minutes if you're patient.
- Build the filling:
- Take the bowl off the heat and quickly stir in your strawberry powder, softened butter, vanilla, and salt until everything becomes one cohesive, glossy mixture. The butter should melt right in from the residual heat.
- Let it set until scoopable:
- Cover the bowl and slide it into the refrigerator for a full hour—you're waiting for it to firm up enough that you can scoop it with a teaspoon without it collapsing into mush. Patience here saves you frustration later.
- Roll your little spheres:
- Line a baking sheet with parchment paper, then using a heaping teaspoon, scoop out the filling and gently roll each one between your palms until it's roughly ball-shaped. They don't need to be perfect because the chocolate coating will hide any imperfections.
- Freeze them solid:
- Pop your truffle balls onto the baking sheet and stick the whole thing in the freezer for thirty minutes—this is crucial because it keeps them from melting into puddles when they hit the warm chocolate coating.
- Melt your coating chocolate:
- Using the same double boiler method as before, melt your three hundred grams of white chocolate until it's silky and pourable. Make sure no water gets into it or it'll seize up and become grainy.
- Dip with intention:
- Using a regular fork, pick up each frozen truffle and submerge it completely in the warm chocolate, then lift it out and tap the fork gently against the bowl's edge to let excess chocolate drip off. This is actually quite peaceful once you get the rhythm down.
- Garnish before it sets:
- Immediately after each dip, sprinkle your reserved strawberry powder and any sprinkles onto the still-wet chocolate coating—speed matters here because once it hardens you're stuck with a plain surface. Work in batches if you need to.
- Let them cure completely:
- Set the truffles at room temperature for a couple hours or refrigerate them for thirty minutes if you're eager—the chocolate shell will set and you'll have these gorgeous little gems ready to gift or devour.
 Save
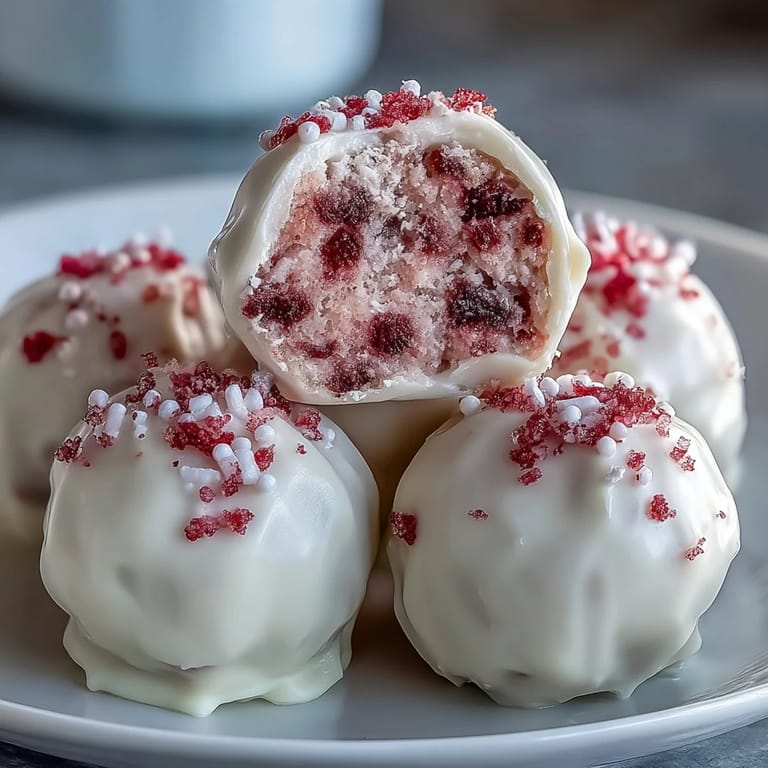
Save The magic moment comes when you pull them out and see them sitting there, coated in white chocolate with those shocking pink flecks on top—they look like tiny works of art you actually made with your own hands. That's when you know why people bother with homemade gifts at all.
Timing Your Chocolate Work
The chocolate needs to stay warm and pourable while your truffles stay cold and firm, which is a delicate balance I've learned the hard way. If the chocolate cools and thickens, just set the bowl back over the simmering water for thirty seconds—warming it up again is totally fine and way better than ending up with clumpy, uneven coatings that look amateur.
Flavor Variations That Actually Work
Once you master the basic recipe, you can play around without ruining things—I've made versions with a tiny drop of rose water, a hint of lemon zest, or even a small pinch of cardamom, and each one felt like discovering something new. The strawberry base is forgiving enough that it handles subtle additions gracefully, as long as you don't go overboard trying to be creative.
Storage and Gifting Secrets
These truffles actually keep beautifully in an airtight container in the refrigerator for up to a week, which takes the pressure off if you're making them ahead for someone special. The cold keeps the chocolate shell snappy and the filling perfectly set, so they're honestly better the next day after all the flavors have gotten to know each other.
- Layer them in a small box with parchment between each truffle so they don't stick together or get smudged.
- If you're gifting them, tie the box with a ribbon and maybe tuck a tiny card inside—the presentation is half the magic.
- Pair them with sparkling rosé or champagne if you're serving them at an actual event, and watch people's faces light up.
 Save
Save Making these truffles transforms a regular evening into something that feels a little bit special, and somehow the person receiving them always knows you put real thought into it. That's worth the two hours and the messy cleanup.
Recipe Help
- → What ingredients enhance the strawberry flavor?
Freeze-dried strawberries create an intense berry flavor, and adding a drop of natural strawberry extract can strengthen it further.
- → How should the truffle mixture be chilled?
Refrigerate the filling until firm enough to scoop, usually about 1 hour, then freeze after shaping to ensure easy dipping.
- → What is the best method to melt white chocolate?
Melt white chocolate slowly over simmering water using a double boiler to prevent scorching and ensure a smooth texture.
- → Can these treats be stored, and how?
Store truffles in an airtight container in the refrigerator for up to one week to maintain freshness and texture.
- → Are there common allergens to be aware of?
These truffles contain dairy and soy from the cream, butter, and white chocolate; nut traces may also be present depending on the chocolate used.