 Save
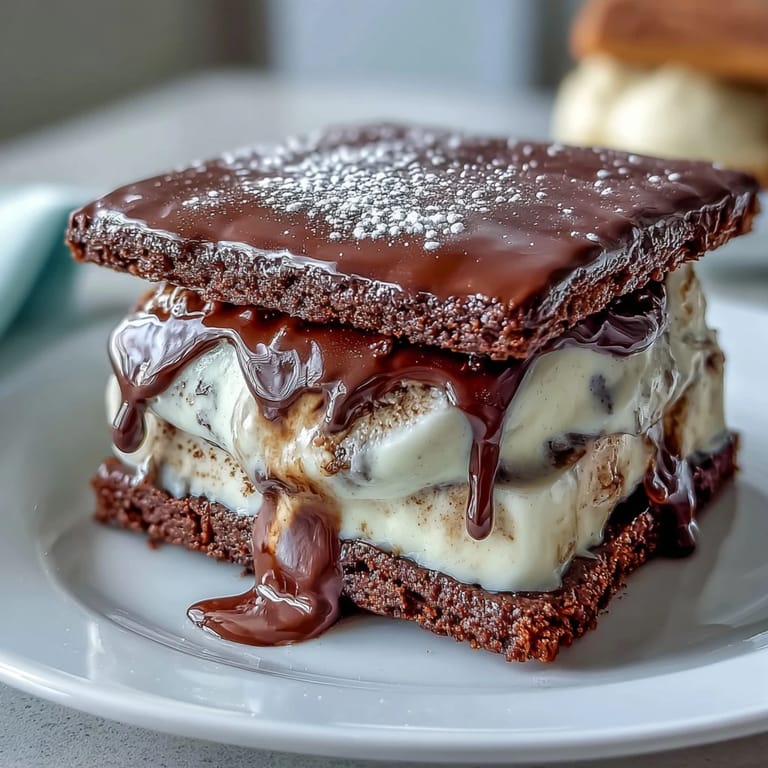
Save My coworker brought in a vanilla frappuccino one sweltering afternoon, and I remember watching the whipped cream melt into the iced coffee, thinking how incredible it would taste as something you could actually hold in your hand. That sparked the idea—what if I could capture that exact flavor combination in a frozen dessert that didn't require a coffee shop visit? These ice cream sandwiches became my answer, marrying rich espresso cookies with silky vanilla bean ice cream in a way that feels both indulgent and somehow effortless to enjoy.
I made these for a backyard gathering last summer when the heat was almost unbearable, and watching people's faces light up as they bit into the cold sweetness was pure magic. One guest asked if I'd bought them from a specialty shop, and I had to laugh—there's something about homemade ice cream sandwiches that feels restaurant-worthy even though you made them yourself. That moment cemented it: this recipe is worth the effort for the joy it creates.
Ingredients
- Unsalted butter (1 cup, softened): Room-temperature butter creams beautifully and gives the cookies their tender structure, so don't skip the softening step.
- Brown sugar and granulated sugar (1 cup and 1/2 cup): The combination creates depth and moisture, with brown sugar adding richness that plain white sugar can't match.
- Large eggs (2): These bind everything together and help the dough spread evenly, so use fresh eggs at room temperature.
- All-purpose flour (2 1/2 cups): Measure by spooning into your measuring cup and leveling off to avoid packing it down, which can make cookies tough.
- Unsweetened cocoa powder and instant espresso powder (1/2 cup and 2 tbsp): These create that sophisticated coffee-chocolate flavor that makes people wonder what your secret is.
- Heavy cream and whole milk (2 cups and 1 cup): Quality dairy makes a noticeable difference in ice cream texture, so go for full-fat options if you can.
- Vanilla bean (1 split and scraped, or 2 tsp bean paste): Real vanilla bean adds flecks and authentic flavor that vanilla extract alone cannot deliver, though paste works perfectly well in a pinch.
Tired of Takeout? 🥡
Get 10 meals you can make faster than delivery arrives. Seriously.
One email. No spam. Unsubscribe anytime.
Instructions
- Steep Your Vanilla Bean Base:
- Heat the milk, sugar, vanilla seeds, and salt together until the mixture steams gently and the sugar completely dissolves. You'll smell the vanilla coming alive, which is how you know it's working its magic. Remove from heat, discard the vanilla pod, and stir in the cold heavy cream to stop the cooking.
- Chill the Ice Cream Mixture:
- Let this sit in the fridge for at least two hours—this isn't rushing time, it's essential for smooth, creamy results. The cold base churns better and freezes with a better texture.
- Churn to Perfection:
- Follow your ice cream maker's instructions, which usually means churning until the mixture thickens into soft-serve consistency. Spread it into a parchment-lined pan about an inch thick and freeze solid, which takes at least two more hours.
- Cream Your Cookie Dough:
- Beat softened butter with both sugars until the mixture looks light, fluffy, and pale—this usually takes three to four minutes with an electric mixer. This step aerates the dough and sets up your cookies for tender success.
- Build the Flavor:
- Add eggs one at a time, beating well after each addition, then mix in vanilla extract. In a separate bowl, whisk together all your dry ingredients so they distribute evenly when you combine them.
- Roll and Cut:
- Place your dough between two sheets of parchment paper and roll to about 1/4 inch thickness—this parchment trick prevents sticking and mess. Cut out sixteen 3-inch rounds using a cookie cutter, placing them on parchment-lined baking sheets.
- Bake Until Just Set:
- Bake at 350°F for 10 to 12 minutes until the edges feel firm but the centers still have slight give. The cookies will continue cooking slightly on the hot pan, so pull them out just before they seem completely done.
- Cool Completely:
- Let cookies cool on a wire rack until they're room temperature and crisp—this is non-negotiable if you want a satisfying crunch.
- Cut and Sandwich:
- Using the same 3-inch cutter, cut eight rounds from your frozen ice cream slab. Work quickly and keep everything cold, placing each ice cream round between two cookies and pressing gently to secure.
- Final Freeze:
- Wrap each sandwich in parchment paper and return to the freezer for at least one hour before serving. This firms everything up and makes them easier to handle when eating.
 Save
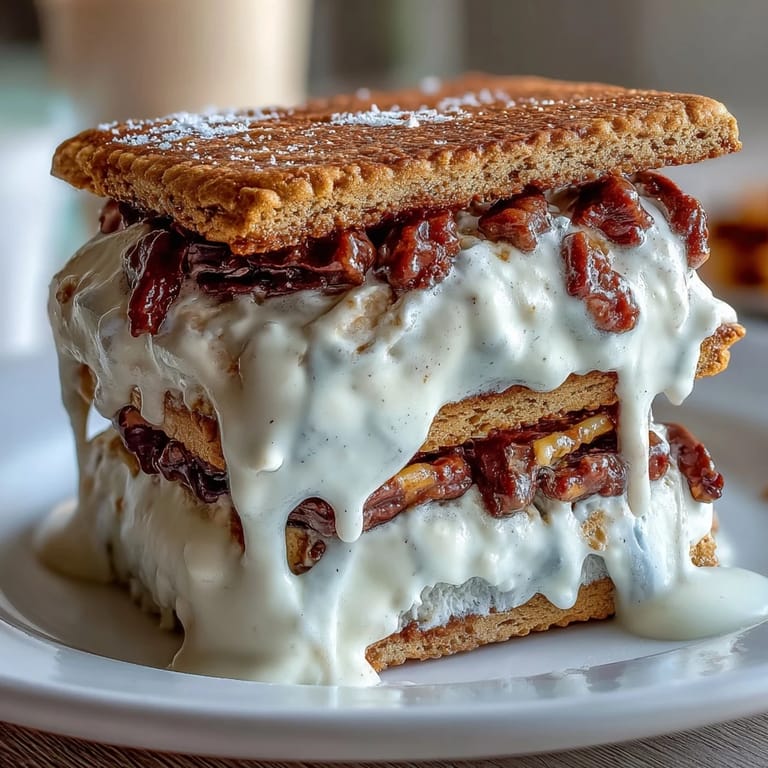
Save There's a moment right before you bite into one of these that feels ceremonial, like you're about to do something indulgent. The cold cookie exterior cracks slightly against your teeth before giving way to that creamy, vanilla-bean-flecked center, and suddenly you understand why coffee shops charge five dollars for a drink.
Flavor Pairing Ideas
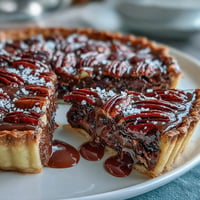
These sandwiches are wonderful on their own, but I've discovered they pair beautifully with simple accompaniments. A drizzle of caramel sauce or a dusting of cinnamon adds complexity, while a small cup of hot espresso alongside creates a fun hot-and-cold contrast. Even a simple sprinkle of fleur de sel on top brings out the chocolate notes in an unexpected way.
Storage and Make-Ahead Tips
These freeze brilliantly for up to two weeks, making them perfect for advance preparation or unexpected entertaining. I keep mine wrapped in parchment in a freezer bag so they don't dry out or absorb freezer odors. You can also bake the cookies a day ahead and keep them in an airtight container, then assemble the sandwiches whenever you're ready.
Ways to Customize Your Sandwiches
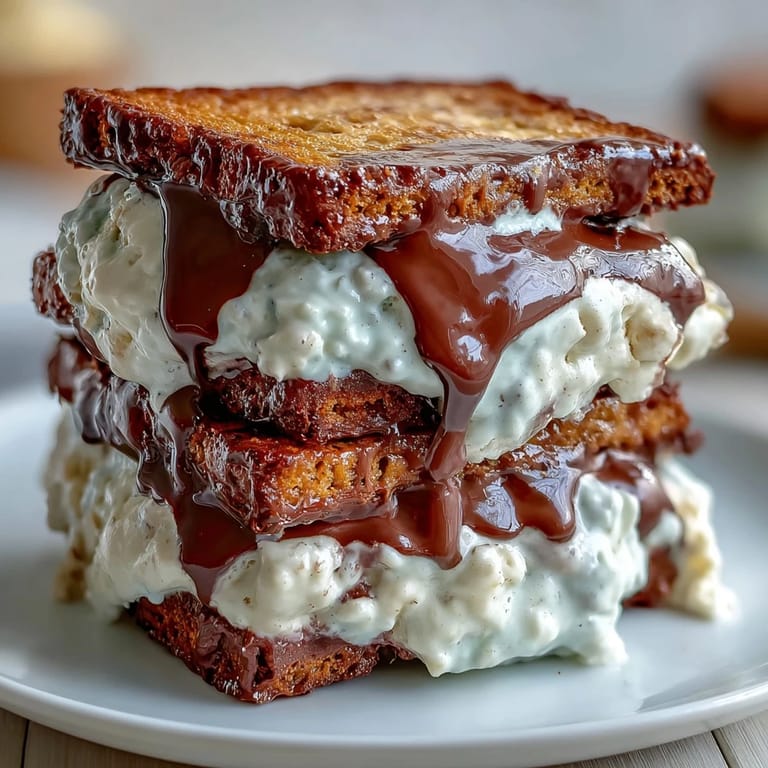
The beauty of homemade ice cream sandwiches is how easily you can make them your own. I've rolled the edges in crushed espresso beans, sprinkled them with mini chocolate chips, and even pressed dark chocolate shards into the sides before the final freeze. You can also swap the ice cream for salted caramel, coffee, or even a simple Madagascar vanilla if you want to dial back the frappuccino inspiration.
- Roll freshly assembled sandwich edges in crushed espresso beans, chocolate chips, or sprinkles before returning to the freezer for a textural surprise.
- Make mini versions using a 2-inch cutter instead of 3-inch for elegant plated desserts or party bites.
- Keep parchment squares handy when serving so guests can hold them without messy hands dripping everywhere.
 Save
Save These vanilla bean frappuccino ice cream sandwiches remind me why I love cooking from scratch—because sometimes the best indulgences are the ones you create yourself. Every bite tastes like summer, celebration, and the kind of care that only shows up when you take time to do something just right.
Recipe Help
- → What gives the cookies their espresso flavor?
Instant espresso powder is added to the cocoa and flour mixture, providing a rich coffee aroma and depth to the cookies.
- → Can I make the ice cream without an ice cream maker?
Yes, freeze the ice cream base in a shallow dish, stirring every 30 minutes until it thickens to a creamy consistency.
- → How do I ensure the ice cream is smooth and creamy?
Chill the milk and cream mixture thoroughly before churning, and use vanilla bean seeds for natural flavor and smoothness.
- → Can I store the assembled sandwiches before serving?
Wrap each sandwich individually in parchment paper and freeze for at least 1 hour to firm up before serving.
- → Are there any tips to add texture to the sandwiches?
Roll the sandwich edges in mini chocolate chips or crushed espresso beans before freezing for an extra crunch.