 Save
Save My neighbor knocked on the door that Fourth of July morning with her kids bouncing behind her, asking if I had anything festive to bring to the neighborhood barbecue. I had about two hours and a pantry full of chocolate, so these brownie bites came together almost by accident, turning into the stars of the dessert table. There's something about baking something small and handheld that makes people grab seconds without thinking, and by evening, kids were asking their parents why store-bought patriotic treats couldn't taste this good. The red, white, and blue frosting on top is just the excuse to get chocolate into your hands faster.
I'll never forget watching my eight-year-old cousin carefully place each sprinkle on top of her brownie bite like she was decorating a tiny masterpiece for the queen, then devouring it in two bites anyway. That's when I realized these aren't just desserts; they're permission to have fun in the kitchen and be a little silly about summer. The kids started a contest to see who could decorate theirs the fastest, and somehow my kitchen went from quiet to completely chaotic in the best way possible.
Ingredients
- Unsalted butter: Using unsalted lets you control the salt level, and melting it first makes the brownie texture more fudgy than cakey, which is exactly what you want here.
- Granulated sugar: This is your sweetness engine, and mixing it directly with melted butter creates that glossy, intense chocolate flavor.
- Large eggs: They bind everything together and add moisture, so don't skip them or use smaller eggs because the ratio really matters.
- Vanilla extract: Just a teaspoon deepens the chocolate note without making them taste like vanilla brownies.
- Unsweetened cocoa powder: The good stuff matters here; cheap cocoa powder tastes dusty and flat, so spend a tiny bit more and taste the difference.
- All-purpose flour: Keep it to exactly 1/2 cup or these become dense hockey pucks instead of fudgy bites.
- Salt and baking powder: The salt heightens chocolate flavor while the baking powder gives them just enough rise to be tender.
- Cream cheese and butter for frosting: Together they create a tangy-sweet balance that doesn't taste like canned frosting, which is honestly the best part.
- Powdered sugar: It dissolves smoothly into the frosting if you add it gradually while mixing.
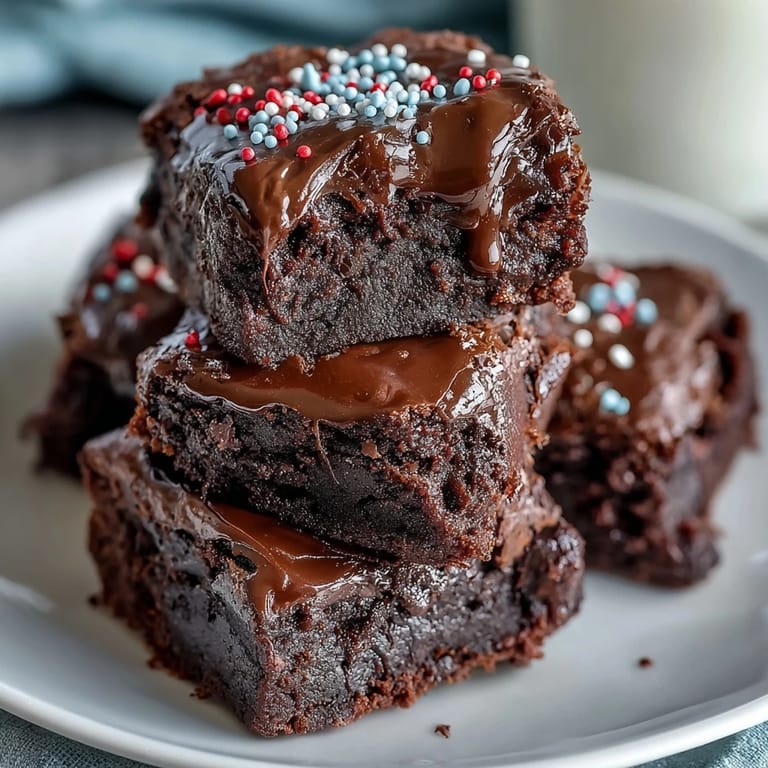
- Red, white, and blue sprinkles: These aren't just decoration; they're your edible confetti that makes people smile before they even taste them.
Tired of Takeout? 🥡
Get 10 meals you can make faster than delivery arrives. Seriously.
One email. No spam. Unsubscribe anytime.
Instructions
- Prep your oven and pan:
- Get your oven to 350°F and either grease that 24-cup mini muffin pan really well or line it with papers, because sticky brownie batter will cling to anything it can. This takes two minutes but saves you 10 minutes of scraping later.
- Melt and mix the base:
- Microwave the butter until it's completely melted and almost hot, then stir in sugar, eggs, and vanilla like you're making a shiny chocolate paste. The warmth helps the sugar dissolve and the eggs incorporate smoothly, which creates that fudgy texture.
- Add the dry ingredients:
- Sift your cocoa powder into the wet mixture if you have a sifter, because cocoa powder clumps like nobody's business. Stir everything just until you don't see streaks of flour anymore; overmixing makes brownies tough and cake-like.
- Fill the pan:
- Spoon batter into each cup until it's about three-quarters full, leaving room for them to puff slightly. Use a small cookie scoop if you have one, because it keeps them uniform and baking even.
- Bake with attention:
- Set your timer for 12 minutes and start checking, because every oven runs a little different and you're looking for the toothpick test: it should come out with a few moist crumbs clinging to it, not completely clean. That's the difference between fudgy and dry.
- Cool strategically:
- Let them sit in the pan for exactly 5 minutes so they firm up enough to handle, then turn them out onto a wire rack to cool completely. Frosting warm brownies is a disaster.
- Make the frosting:
- Beat the softened cream cheese and butter together for a good minute until they're light and fluffy, then add powdered sugar slowly while the mixer is running. This prevents lumps and incorporates air, making it spreadable instead of dense.
- Add milk to achieve texture:
- Start with 1 tablespoon of milk and add more drop by drop until the frosting goes from stiff to spreadable; too much milk and it gets glossy and slidey. You want it thick enough to hold its shape but soft enough to pipe.
- Top with frosting and sprinkles:
- Once the brownies are completely cool, pipe or spread a generous dollop of frosting on top of each one. Go immediately to the sprinkles while it's still slightly tacky, so they stick instead of rolling off your plate.
 Save
Save There's something magical about watching someone's face when they bite into one of these and realize the frosting is tangy and not sickeningly sweet, and that the brownie underneath is actually moist and fudgy instead of dry. That moment when dessert becomes a small conversation starter is honestly why I keep making them.
Why These Work for Crowds
Finger foods disappear faster than plated desserts, and brownie bites have that perfect size where people can grab one, eat it in a few bites, and come back for more without committing to a whole slice. They also travel beautifully in a container, so whether you're heading to a potluck or a picnic, they arrive looking as festive as you intended. Plus, you can make them hours ahead and frost them just before you leave, which means less stress on party day.
Storage and Make-Ahead Options
The unfrosted brownies actually taste better after a day because the flavors settle and they get slightly fudgier, so bake them the day before if you can and frost them the morning of your event. Keep them in an airtight container in the refrigerator for up to three days, though honestly they rarely last that long. If you're feeling ambitious, you can even freeze the unfrosted brownies for up to two weeks and thaw them at room temperature before frosting.
Creative Topping Ideas
The red, white, and blue sprinkles are the classic move, but once you master the base you can get wild with toppings depending on the season or occasion. Dark chocolate shavings on top give them a more sophisticated look, crushed freeze-dried berries add tartness, or edible gold dust makes them feel fancy without much effort. The frosting is your blank canvas, so don't be afraid to experiment once you've made them once and know how they turn out.
- Edible glitter catches the light and looks completely dazzling in photos if you're that person who documents desserts.
- Mini chocolate chips pressed into the frosting while it's still soft create texture and extra chocolate impact.
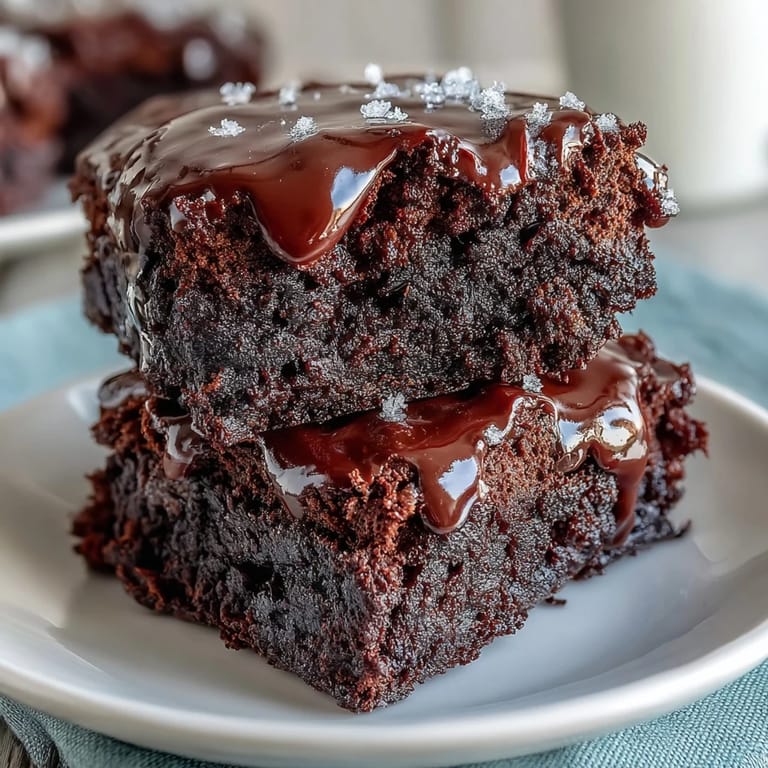
- A sprinkle of sea salt on top of the frosting right before the regular sprinkles adds a salty-sweet element that people can't quite name but love anyway.
 Save
Save These brownie bites are the kind of recipe that feels like a celebration even when you're just baking them on a random Tuesday afternoon. They're small enough that you can make them guilt-free but impressive enough that everyone thinks you spent way more time than you actually did.
Recipe Help
- → What pan is best for baking these brownie bites?
A 24-cup mini muffin pan works best to create uniform, bite-sized portions.
- → How can I achieve a creamy frosting consistency?
Beat softened cream cheese and butter until smooth, then gradually add powdered sugar and vanilla. Add milk little by little for a spreadable texture.
- → Can I make these gluten-free?
Yes, substitute all-purpose flour with a gluten-free flour blend suitable for baking.
- → What is the best way to store the brownie bites?
Store them in an airtight container in the refrigerator for up to three days to maintain freshness.
- → Are there any allergy concerns with these brownie bites?
They contain dairy, eggs, and wheat. Sprinkles may have traces of nuts, so check labels if allergies are a concern.
- → How do I know when the brownie bites are fully baked?
Insert a toothpick into the center; it should come out with a few moist crumbs but no wet batter.